

The short answer: This Tapo D230S1 manual covers charging the battery, pairing the doorbell to the Tapo H200 hub, and mounting it in under 20 minutes, plus fixes for the most common pairing and low-battery issues UK buyers run into.
Table of Contents
Quick Summary
| Step | What You Do | Time Needed |
|---|---|---|
| 1 | Charge the removable battery | 5–6 hours |
| 2 | Insert the battery into the doorbell | 1 minute |
| 3 | Add the hub in the Tapo app | 3 minutes |
| 4 | Add the doorbell and pair with the hub | 3 minutes |
| 5 | Choose a mounting spot and fit the wedge | 5 minutes |
| 6 | Stick or screw the doorbell to the wall | 5 minutes |
Official Tapo D230S1 Manual
TP-Link publishes the full official Tapo D230S1 User Guide covering the doorbell, hub, and battery in detail. This page walks through the same setup and troubleshooting steps in plain English, with UK-specific notes on mounting and battery care.
If you haven't bought yours yet, the TP-Link Tapo D230S1 remains the best budget doorbell under £50 in the UK. For the full breakdown of video quality, motion detection, and how it stacks up against pricier rivals, see our complete Tapo D230S1 review.
Tapo D230S1 Setup — Step by Step
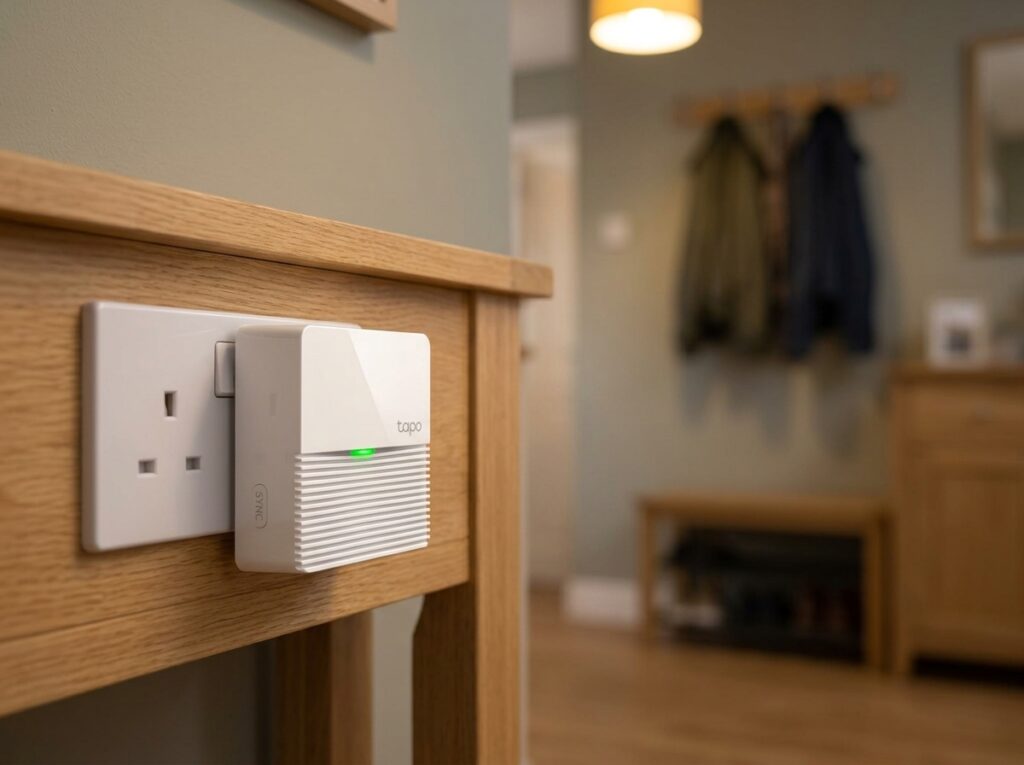
Tapo D230S1 setup involves two separate components — the doorbell itself and the Tapo H200 hub that plugs in indoors — so it takes a little longer than single-unit doorbells, but the app walks you through each stage clearly.
Step 1: Charge the battery The D230S1 uses a removable battery rather than a fixed internal one. Connect it to a 5V USB charger before first use — a full charge from empty takes 5–6 hours. The battery LED glows solid amber while charging and turns solid green once full. If you want to keep the doorbell running while a spare battery charges, TP-Link recommends buying a second battery.
Step 2: Insert the battery Use the supplied pin to detach the doorbell from its housing, then insert the charged battery into the compartment.
Step 3: Set up the hub first Download the Tapo app from the App Store or Google Play, or scan the QR code in the box, and sign in with your TP-Link ID (create one if you don't have one). In the app, tap the add-device button and select the Tapo H200 hub first — the doorbell pairs to the hub, not directly to your Wi-Fi.
Step 4: Add the doorbell Once the hub is online, tap the add-device button again, select your doorbell model, and follow the in-app prompts to pair it. The doorbell's status LED blinks red and green when it's ready for pairing, then blinks green slowly while pairing, then turns solid amber once connected to the hub.
Step 5: Insert a microSD card (optional but recommended) If you want local recording, insert a microSD card (up to 512GB) into the hub — not the doorbell — and initialise it from Camera Settings > microSD Card in the app.
Installation — Mounting the Tapo D230S1
TP-Link gives you two mounting options: stick-on adhesive or screw-mounted with the included template.
Before you mount:
- Install the doorbell on a flat wall section.
- Recommended mounting height is 1.2m (4ft) above the ground.
- Use the included 15° mounting wedge if you want a more focused, angled view toward one side of the doorstep — useful on UK terraces where the path approaches from an angle rather than straight on.
Option 1 — Stick to the wall: Once the doorbell is added in the app, apply the included adhesive strip to a clean, dry wall surface and press the doorbell into place. This is the faster option and leaves no permanent marks — a good fit for renters, though see our rented property guide for a fuller discussion of no-drill options.
Option 2 — Screw to the wall: Stick the mounting template to your chosen spot and drill two holes as marked. Attach the mounting wedge first if you're using it to adjust the viewing angle, then screw the bracket in place and click the doorbell on.
Tapo D230S1 Troubleshooting
Most Tapo D230S1 troubleshooting issues fall into three categories: hub connection problems, doorbell pairing failures, and battery warnings.
Hub won't connect to the app:
- Check the hub's status LED: solid red means starting up, blinking red and green means ready for setup, solid amber means connected to the router, and solid green means fully connected to the cloud.
- If the LED stays solid red for more than a minute or two, power-cycle the hub and try again.
- Make sure the hub is on the same 2.4GHz Wi-Fi network your phone is connected to during setup.
Doorbell won't pair with the hub:
- Press the SYNC/RESET button on the doorbell for 1 second to trigger pairing mode — a longer press (about 5 seconds) performs a full reset instead, which isn't what you want here.
- Check the doorbell's status LED is blinking green slowly, which indicates active pairing. Solid amber means it has successfully connected to the hub.
- Keep the doorbell within a few metres of the hub during pairing — distance issues are the most common cause of failed pairing on the first attempt.
Doorbell shows low battery warnings:
- A doorbell status LED blinking red once a minute indicates low battery — recharge the removable battery via USB as described in Step 1.
- If you're getting frequent low-battery alerts sooner than expected, reduce motion sensitivity in the app (adjustable from 1–10) or set up activity zones to cut down on unnecessary recordings — see our full guide to fixing video doorbell WiFi and battery issues for more detail.
Doorbell resetting or updating unexpectedly:
- A doorbell LED blinking red quickly means it's resetting; blinking green quickly means it's updating firmware. Let either process complete without disconnecting power or removing the battery.
Notifications delayed or missing:
- Confirm notification permissions are enabled for the Tapo app at your phone's system level.
- Check the hub's status LED shows solid green (connected to the cloud) — a hub stuck at solid amber (router-only, no cloud) will delay or block push notifications entirely.
Tapo D230S1 Battery Life and Charging
TP-Link rates the tapo d230s1 battery at up to 180 days per charge, based on laboratory testing at 10–20 triggered events per day. Actual battery life in UK conditions depends heavily on how much motion your doorstep sees and how cold it gets in winter — busier streets and colder months will both shorten this.
Because the battery is fully removable, recharging is more convenient than on fixed-battery doorbells: use the detaching pin to pop the unit off the wall, remove the battery, and charge it separately while a spare (if you have one) keeps the doorbell running. This is one of the D230S1's genuine advantages over rivals with sealed batteries.
Tips to extend battery life:
- Lower the motion sensitivity slider if your doorbell faces a busy pavement — every triggered recording draws down the battery.
- Set up activity zones in the app so the doorbell only records the areas that matter, not passing traffic or a neighbour's driveway.
- Consider a second battery (sold separately) so you always have a charged spare ready to swap in, rather than leaving the doorbell offline while it charges.
Frequently Asked Questions
Does the Tapo D230S1 need the hub to work? Yes. Unlike some doorbells that connect directly to Wi-Fi, the D230S1 pairs to the included Tapo H200 hub first, and the hub connects to your router. The hub also houses the microSD card slot and acts as your indoor chime.
How do I remove the battery to recharge it? Use the supplied detaching pin to release the doorbell from its wall mount, then use the plastic clips inside the battery compartment to release and remove the battery for charging.
Can I adjust how sensitive the motion detection is? Yes — motion sensitivity is adjustable from 1 to 10 in the Tapo app, and you can also set custom activity zones to limit detection to specific areas of the frame.
How long does the Tapo D230S1 battery take to charge? Around 5–6 hours from empty via a standard 5V USB charger.
Can I install the Tapo D230S1 without drilling? Yes — the included adhesive strip lets you stick the doorbell directly to a clean, flat wall without screws. This is the quickest option and ideal for rented properties.
Why is my Tapo D230S1 doorbell showing a solid amber LED? Solid amber means the doorbell is successfully connected to the hub — this is the expected status once pairing is complete, not an error.
For the full verdict on video quality, motion detection accuracy, and how the D230S1 compares to the Eufy C30 and Eufy E340, read our complete Tapo D230S1 review.
As an Amazon Associate, we earn from qualifying purchases at no extra cost to you. Prices correct at time of writing and verified on Amazon UK. Some images on this site are AI-generated and may not reflect the exact appearance of the products described.