

The short answer: This Arlo 2K manual covers charging, app pairing, and mounting your Arlo Video Doorbell 2K in around 20 minutes, plus the fixes for the pairing, Wi-Fi, and battery problems UK buyers report most often.
Table of Contents
Quick Summary
| Step | What You Do | Time Needed |
|---|---|---|
| 1 | Charge the doorbell indoors | 3–4 hours |
| 2 | Download the Arlo Secure app | 2 minutes |
| 3 | Pair via the doorbell's pairing button | 3 minutes |
| 4 | Choose mounting location and test view | 5 minutes |
| 5 | Drill and fit the mounting plate | 10 minutes |
| 6 | Click the doorbell into place | 1 minute |
Official Arlo 2K Manual
Arlo publishes the full official Video Doorbell 2nd Generation User Manual covering both the Video Doorbell 2K (AVD4001) and Video Doorbell HD (AVD3001) as a downloadable PDF. This page covers the same setup and troubleshooting steps in plain English, with UK-specific notes on Wi-Fi bands and wired chime installation.
If you haven't bought yours yet, the Arlo Video Doorbell 2K is one of the widest field-of-view doorbells available, with genuine Apple HomeKit support. For the full breakdown of video quality, subscription costs, and how it compares to rivals, see our complete Arlo 2K review.
Arlo 2K Setup — Step by Step
Arlo 2K setup is entirely app-guided from start to finish, which makes it one of the more foolproof installs on the market — provided the battery is charged before you begin.
Step 1: Charge the doorbell indoors Use the included release pin to open the back cover, then connect the USB-C charging cable. The charging cable is for indoor use only. The indicator LED lights solid blue once the doorbell is fully charged — this typically takes 3–4 hours from a partial charge.
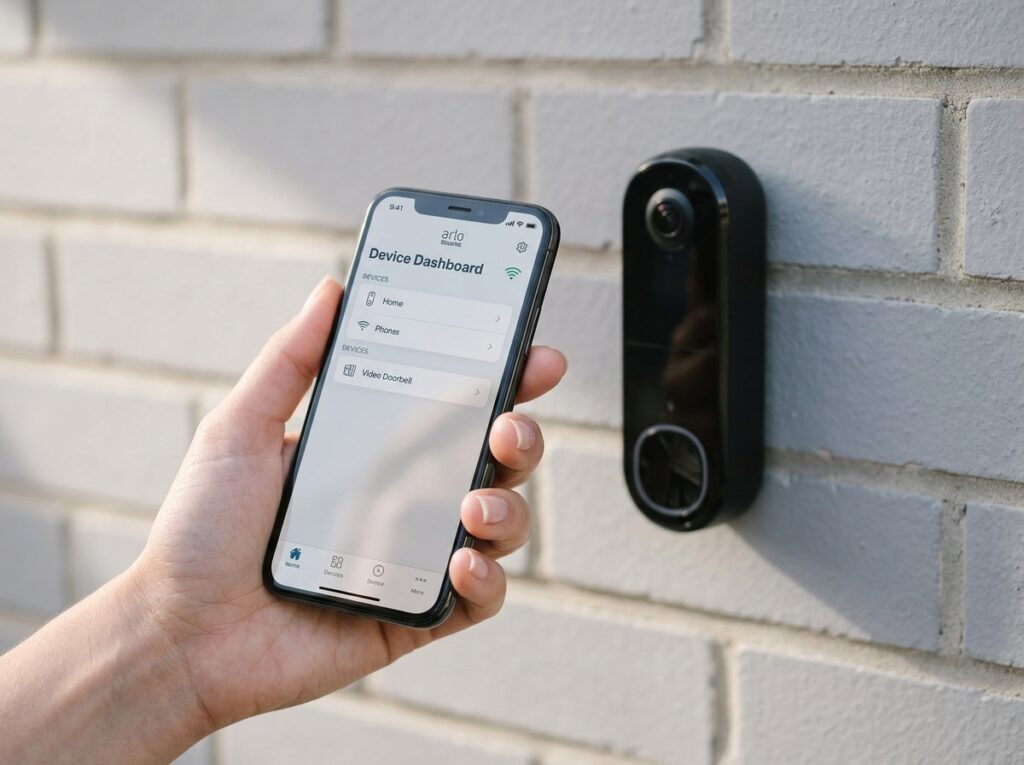
Step 2: Download the Arlo Secure app Install the Arlo Secure app from the App Store or Google Play and create an account. Make sure your phone is connected to a 2.4GHz Wi-Fi network and that Bluetooth is switched on before you start pairing — both are required for discovery.
Step 3: Pair the doorbell In the app, tap Devices, then the Plus icon, then select Doorbells & Chimes followed by Video Doorbell 2nd Generation. Press the pairing button on the rear of the doorbell for 3 seconds — the LED will flash blue when it's ready to connect. Select your 2.4GHz network, enter the password, and wait for verification. Name your doorbell and continue — the app checks for firmware updates automatically.
Step 4: Test the view before mounting Once onboarded, the app guides you through doorbell placement. Hold the unit at your intended location and check the live view before committing to drilling — this confirms both signal strength and field of view.
Installation — Wireless vs Wired
The Arlo 2K works wire-free out of the box, but can optionally be hardwired to an existing doorbell chime for continuous trickle charging.
Wire-free installation:
- Place the mounting plate on the wall and mark the two screw hole locations.
- Decide whether to use the angled mounting wedge — useful if your doorway isn't square-on to the approach path.
- Drill using a 6mm (15/64") drill bit.
- Align the mounting plate with the holes and screw it into place — use the supplied wall anchors on drywall or plasterboard.
- Recommended mounting height is 1.2m (4ft) above the ground.
- Press the doorbell onto the mounting plate in a down-and-in motion until it clicks into place.
Wired installation (optional): Hardwiring lets the Arlo 2K trickle-charge continuously and ring your existing mechanical or digital chime. It requires 16–24V AC transformer power. Turn off power at the breaker before connecting any wires, follow the in-app wiring instructions, then restore power and confirm the LED lights correctly. If your existing doorbell wires are too short, the box includes wire extensions and fasteners to lengthen them. Note: if you've already set the doorbell up wire-free and want to switch to wired later, you'll need to remove the device from the app and re-add it selecting the wired option.
Arlo 2K Troubleshooting
Most Arlo 2K troubleshooting cases come down to Wi-Fi band mismatches, discovery failures during pairing, or wired chime issues.
Arlo doesn't discover the doorbell during setup:
- Confirm you selected the correct doorbell model in the app — it only searches for the specific device chosen.
- Double-check your Wi-Fi SSID and password — both are case-sensitive.
- Keep your phone and the doorbell within 10–15 feet (3–4.5 metres) of your router during initial setup; you can move it further away once connected.
- Watch the LED: slow blinking blue means it's pairing, fast blinking blue means it's connected. If it stops blinking after two minutes without connecting, press the pairing button again and retry.
Doorbell chime doesn't ring (wired installations):
- Confirm the Power Kit is wired correctly to your existing chime.
- Make sure Bypass mode is switched off on the Power Kit — this mode intentionally disconnects the chime.
- Check the chime type is set to Mechanical or Digital (not None) in the app's Chime Settings.
- Confirm Silent Mode isn't enabled in the app.
LED doesn't light on a wired install:
- Confirm power is reaching your home and the breaker is on.
- Check the Power Kit wiring and confirm your transformer outputs 16–24V AC.
- If everything checks out and the LED still doesn't light, consult an electrician to confirm compatibility — this is genuinely an electrical fault rather than an app or account issue.
Weak or dropping Wi-Fi signal:
- Arlo recommends staying within 300 feet (90m) line-of-sight of your router, reduced significantly by brick, concrete, and thick walls common in UK homes.
- Check the Wi-Fi signal strength icon in the app — aim for three or four bars where the doorbell is mounted.
- For persistent issues, see our full guide to fixing video doorbell WiFi signal problems.
Not receiving push notifications:
- Confirm you're logged into the Arlo Secure app — logging out (not just closing the app) stops notifications.
- On iOS: Settings > Notifications > Arlo > Allow Notifications.
- On Android: Settings > Application Manager > Arlo > Show Notifications.
Arlo 2K Battery Life and Charging
Arlo doesn't publish an exact number of months for the 2K's battery, but real-world UK use generally lands in a similar range to other flagship battery doorbells — shorter in winter, longer in mild weather with moderate motion traffic.
Tips to extend battery life:
- Keep the doorbell's field of view away from busy streets or pavements — every motion event triggers a recording and drains the battery.
- Place the doorbell somewhere with strong Wi-Fi signal; a weak connection forces the doorbell to work harder to transmit footage.
- Reduce motion sensitivity or set a recording schedule so the doorbell only arms during the hours you actually need it.
- Hardwire the doorbell to your existing chime wiring if available — this trickle-charges the battery continuously and effectively removes battery anxiety altogether.
To reset the doorbell: Press and hold the pairing button on the rear for about 15 seconds until the LED blinks amber three times, then release. This returns the doorbell to factory settings, ready for re-pairing.
Frequently Asked Questions
Does the Arlo 2K need to be hardwired? No. It works entirely wire-free using its built-in rechargeable battery. Hardwiring is optional and only needed if you want continuous trickle charging and use of your existing traditional chime.
What Wi-Fi does the Arlo 2K need? 2.4GHz only, for both the doorbell itself and the phone used during setup. Make sure your router isn't broadcasting a combined 2.4/5GHz SSID that could confuse the pairing process.
How do I factory reset the Arlo 2K? Press and hold the pairing button on the back of the doorbell for about 15 seconds until the LED blinks amber three times, then release.
Can I install the Arlo 2K without drilling? Not with the standard mounting plate, which uses two screws. If you're renting and can't drill into brick or render, see our guide to installing a video doorbell in a rented property for alternatives.
Why won't my Arlo doorbell pair during setup? The most common causes are an incorrect Wi-Fi password, being too far from the router during pairing, or having Bluetooth switched off on your phone. Confirm all three, then retry.
Does the Arlo 2K work with Apple HomeKit during setup? HomeKit support is added after initial setup through the Arlo Secure app, not during the pairing process itself. Complete the standard pairing first, then enable HomeKit from the app settings.
For the full verdict on video quality, subscription costs, and how the Arlo 2K compares to the Eufy E340 and Ring Battery Doorbell Plus, read our complete Arlo 2K review.
As an Amazon Associate, we earn from qualifying purchases at no extra cost to you. Prices correct at time of writing and verified on Amazon UK. Some images on this site are AI-generated and may not reflect the exact appearance of the products described.